My dear friend and business partner and I are teaching a class on vegetarian cooking, and for the class we wanted to share a recipe for roasted chickpeas. Roasted chickpeas are super easy to make and are a great snack all on their own. They are satisfying, crunchy, and they can be flavored a bunch of different ways.
Melissa Clark recipe and made it for an outdoor BBQ the other weekend. I fell in love with this salad, and I knew that I had to put it into my salad repertoire ASAP. Yes, I'm posting two salad recipes in a row... but this salad is more of a meal than a salad. It's addictive and has
one of the best dressings ever. It's one of those salads that really surprises you with how good it actually tastes.
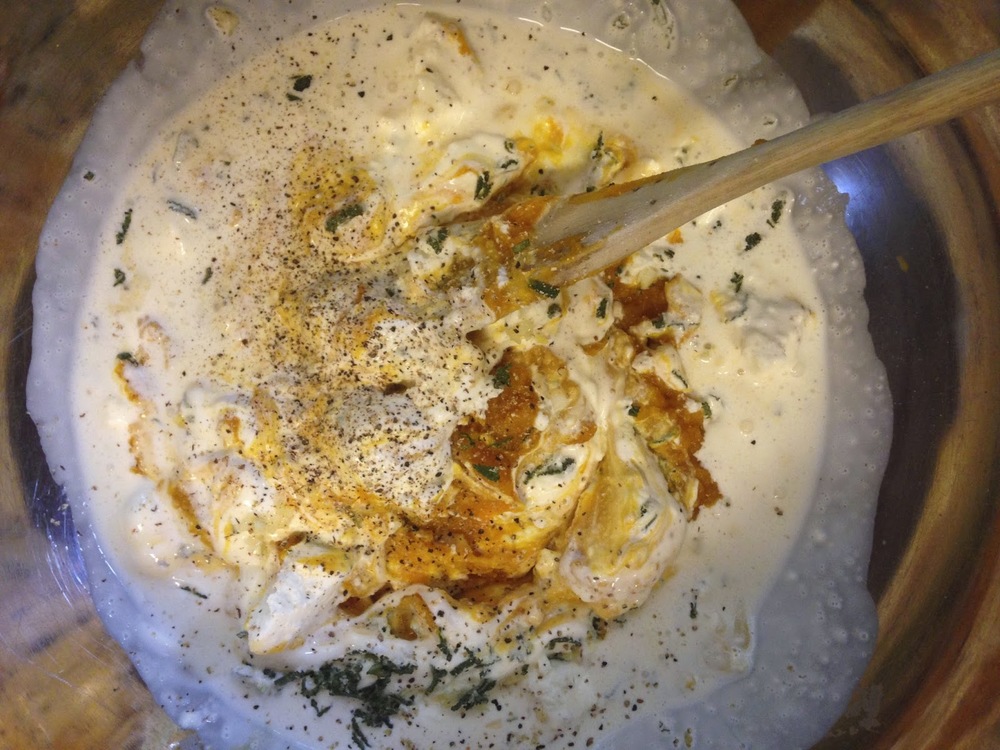
I've adapted the recipe slightly to fit my own preferences. I'm using plain whole milk yogurt instead of Greek; I find it creamier and smoother. I also added a generous amount of za'atar to my dressing. Za'atar is a generic name for a family of Middle Eastern herbs, and it is also the name of a common spice mixture frequently used in the Middle East. The spice mix usually involves some combo of ground thyme, oregano, marjoram and sesame seeds. If you can't find za'atar you can substitute any type of herb (dried or fresh) that you like. Dill or parsley would be nice here. A mix of ground thyme and oregano would be good, too. You can also just omit the herbs entirely; the dressing is good with just the yogurt, oil, lemon juice and garlic.
Roasted Chickpeas
2 cups cooked chickpeas (1 15 oz. can or from 1 cup dried chickpeas)
1-2 teaspoons of your favorite spice (paprika, cumin, coriander, chili powder, or a combo of any)
pinch of salt and pepper
2 tablespoons olive or grapeseed oil
Preheat the oven to 400°F.
If you are using canned chickpeas, start by rinsing and draining the the chickpeas.
If you are starting with dried chickpeas, soak them in cold water overnight or for at least 8 hours. Drain them then add them to a pot, and fill the pot with water (at least 4 cups of water for every 1 cup of chickpeas). Let the chickpeas and water come up to a boil then simmer until the chickpeas are tender and fully cooked. Timing varies depending on the chickpea, but if they are presoaked the chickpeas should cook in about an hour and a half.
Spread the chickpeas in an even layer over clean kitchen towel or over paper towels. Pat the chickpeas dry. Transfer the dried chickpeas to a sheet pan and add the the spice, salt, pepper and oil to the chickpeas. Toss until the chickpeas are evenly coated in oil.
Roast the chickpeas for 30-40 minutes or until golden brown and crispy. If you are making these chickpeas for the salad recipe below, you can roast them at the same time that you roast the sweet potatoes.
In a small bowl or mason jar, combine the ingredients for the dressing. Whisk the ingredients together or shake the jar until they are fully incorporated. Add the dressing to the salad and lightly toss everything together until all of the ingredients are well coated. The salad can be dressed up to 1 hour before serving.
Roasted Chickpea and Sweet Potato Spinach Salad with Yogurt Dressing
Adapted from Melissa Clark of
The New York Times
Serves 4-6
for the salad-
2 cups roasted chickpeas (see recipe above)
1½ lbs. or 3-4 medium-sized sweet potatoes, peeled and cubed into 1-inch pieces
drizzle of oil
salt and pepper, to taste
6-8 cups spinach
4-5 green onions, thinly sliced
for the dressing-
¾ cup plain whole milk yogurt (European-style)
1 garlic clove, finely minced
juice of ½ a lemon
3 tablespoons olive oil
1 tablespoon za’atar (optional)
Preheat the oven to 400°F.
Peel and cube the sweet potatoes into 1-inch pieces. Place the cubed sweet potato onto a baking sheet and drizzle with oil (about 2-3 tablespoons). Season with a pinch of salt and freshly ground pepper. Roast the sweet potatoes for 25-30 minutes or until browned, tender and cooked through. The sweet potatoes can be made at the same time as you roast the chickpeas. Once cooked, allow the sweet potatoes to cool slightly.
Add the spinach to a large salad bowl. To the spinach add the cooled roasted chickpeas and sweet potatoes. Top with sliced green onion.
In a small bowl or mason jar, combine the ingredients for the dressing. Whisk the ingredients together or shake the jar until they are fully incorporated. Add the dressing to the salad and lightly toss everything together until all of the ingredients are well coated. The salad can be dressed up to 1 hour before serving.