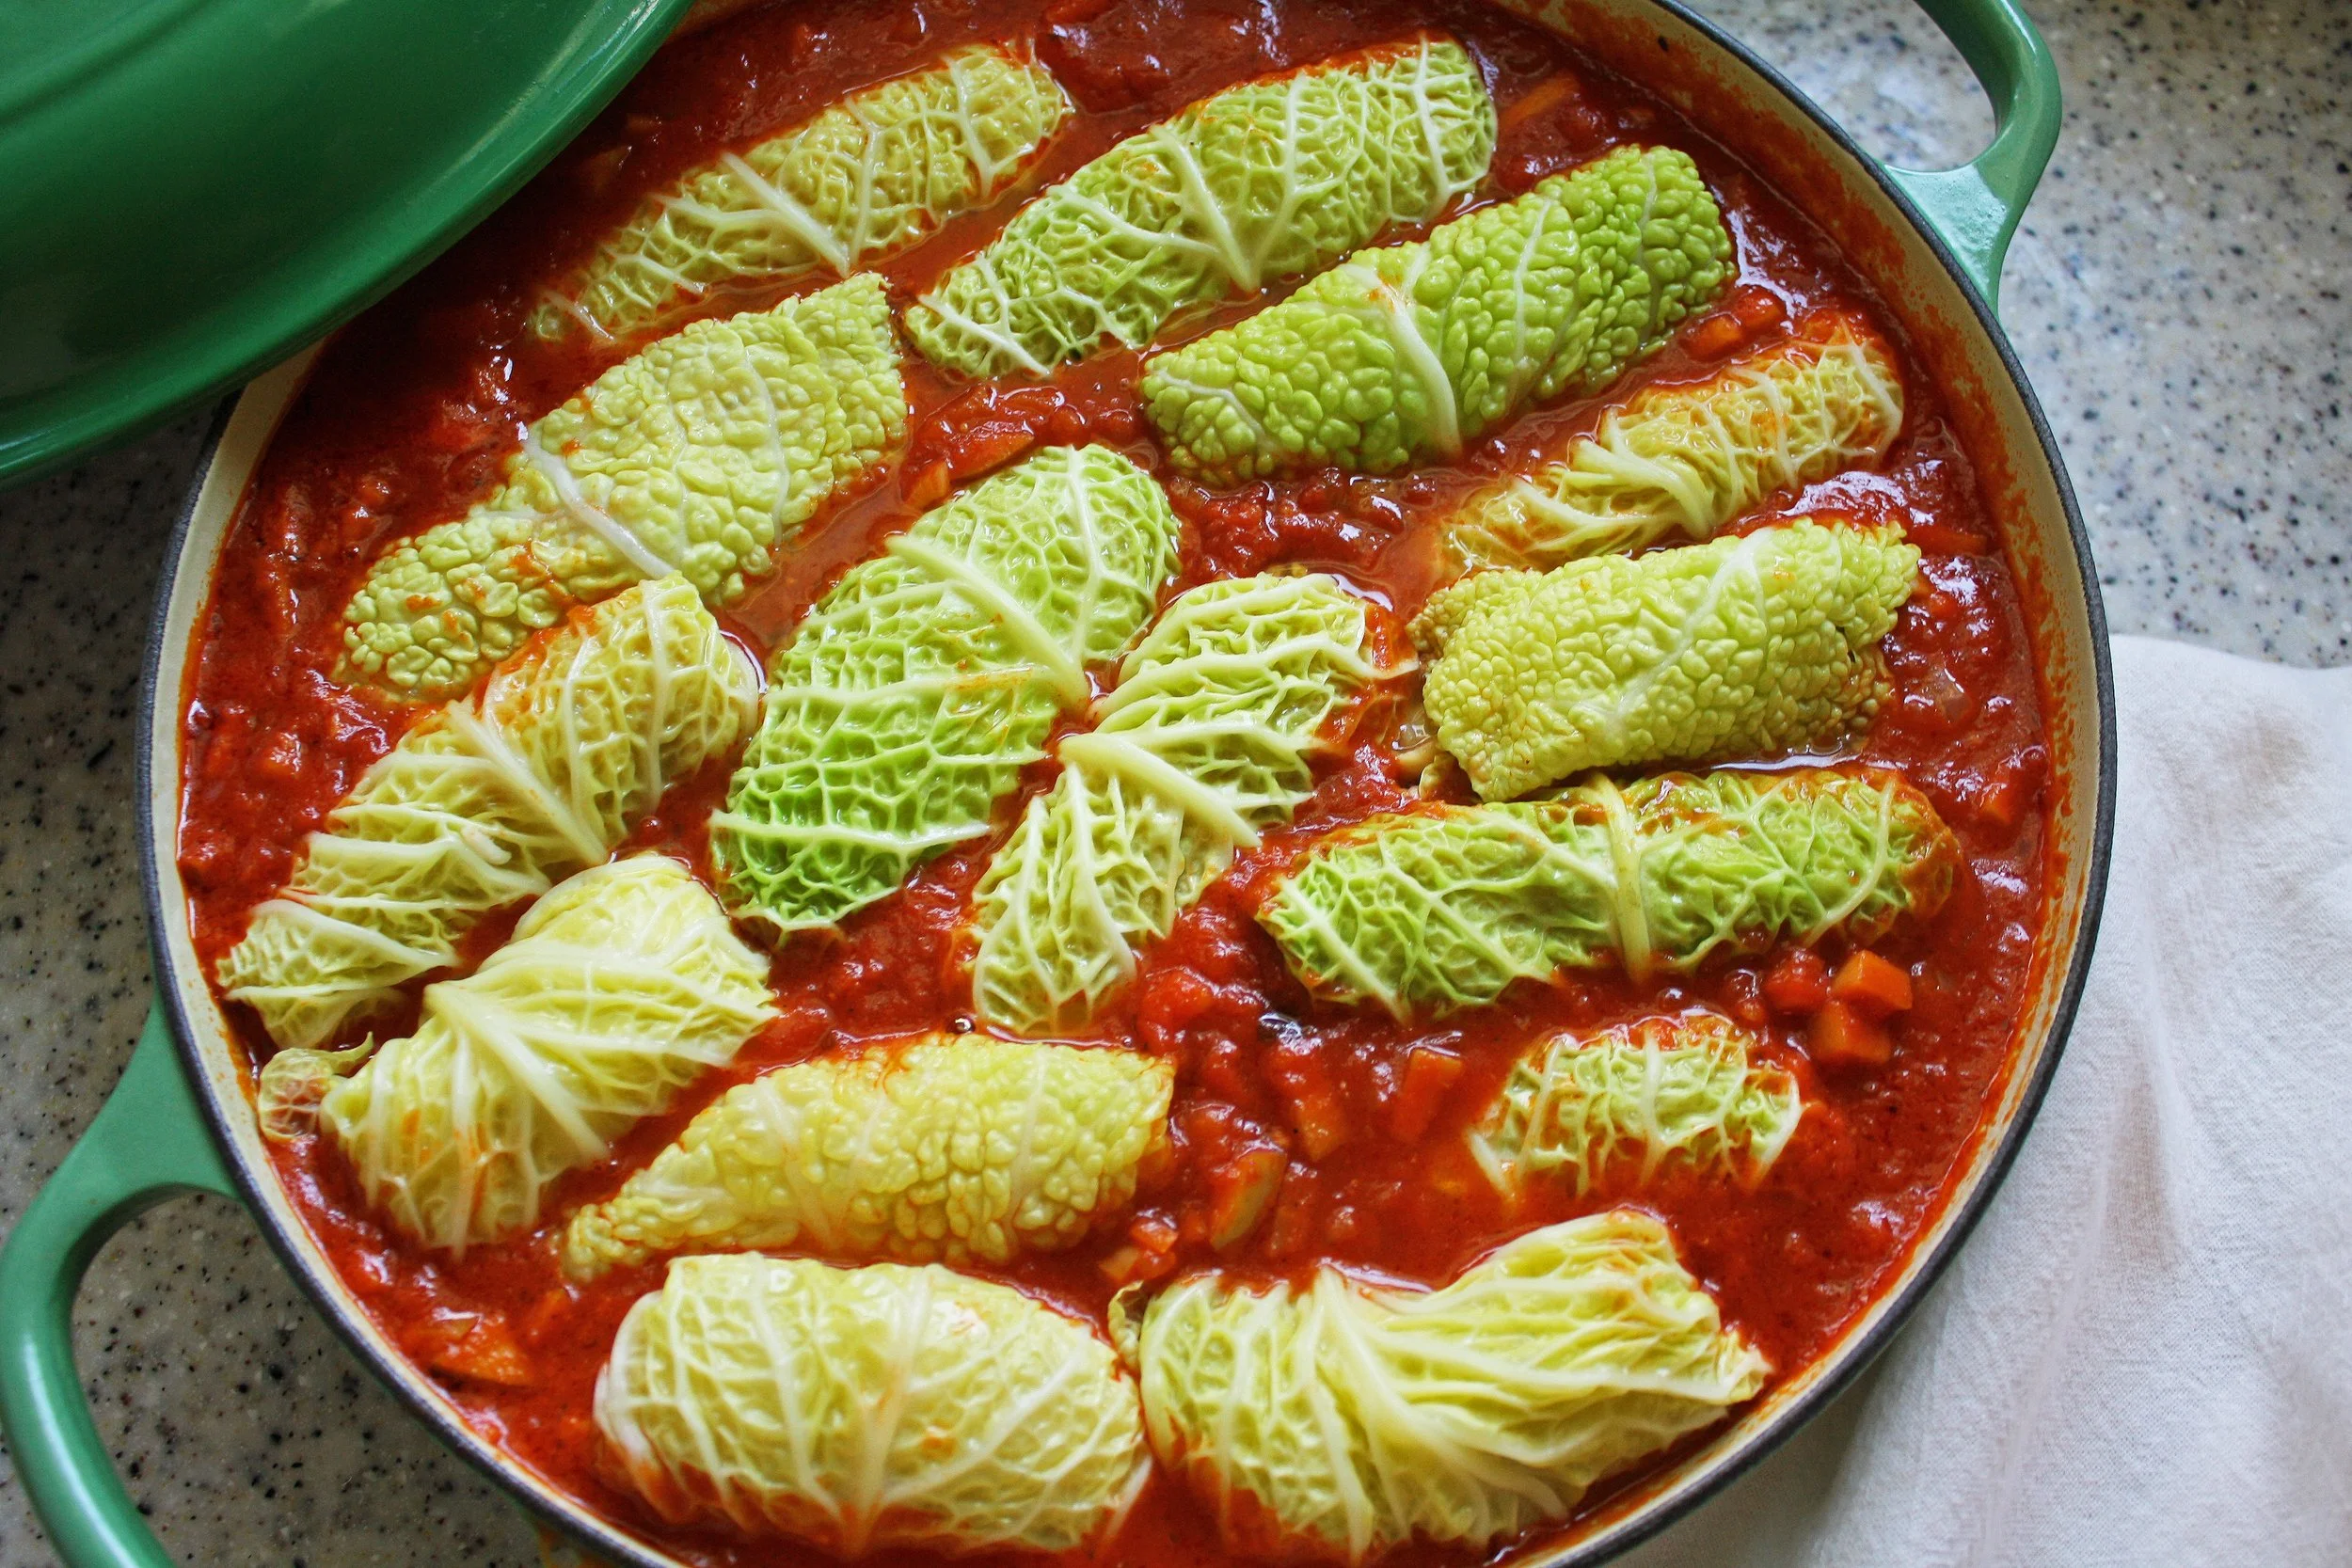
From Italy to Poland, from Ukraine to China, stuffed cabbage is a classic comfort food in many parts of the world. While it takes some time to make, the effort put into the dish is rewarded in its results: the cabbage turns tender and sweet, and the savory filling is enhanced by the tanginess of the tomato sauce it slowly simmers in.
While stuffed cabbage is typically made with ground meat, this Ukrainian-style stuffed cabbage is vegetarian and is made with eggplant. The recipe for the filling is versatile, it is gluten and dairy-free, and it can be made vegan by omitting the egg. If you’re not a fan of eggplant, you can replace the eggplant with zucchini or your favorite vegan ground meat substitute. If you prefer meat, you can substitute the eggplant in this recipe for an equal amount of ground beef or chicken. I find the eggplant offers its own “meatiness” to the dish; and when it is peeled and cut into small cubes it becomes tender and soft, and easily absorbs the flavors of the caramelized onion, garlic, and spices that help create the unmistakable flavors of Eastern European-style stuffed cabbage. The sauce is slightly sweet and sour and demands to be eaten with a slice of good crusty bread to mop up any last drops. If you’re like my Ukrainian Jewish family, you might also want to serve this stuffed cabbage alongside creamy mashed potatoes. Top the stuffed cabbage rolls with parsley, dill, and a dollop of sour cream and you’ll have a hearty, comforting, meal.
Vegetarian Stuffed Cabbage
Serves 4-6, makes 12-13 stuffed cabbage
Prep time: 1 hour / Cooking time: 50-60 minutes
Ingredients:
For the stuffed cabbage-
1 large Savoy or green cabbage
⅔ cups Basmati rice, rinsed
3 Tbsps oil
1 large onion, diced fine
2-3 cloves garlic, minced fine
1½ lbs pounds (2 medium) eggplant, peeled and cubed small
1 small carrot, diced fine
1½ tsps garlic powder
½ tsp Paprika
½ tsp umami season blend/dried mushroom seasoning blend (optional)
Salt and pepper, to taste
1 large egg, optional
For the sauce-
28 oz tomato purée, plus an equal amount of water
½ a large onion, chopped fine
3-4 cloves garlic, minced fine
1 small apple, peeled and diced fine
2 Tbsps tomato paste
2-3 Tbsps maple syrup, or 2 tsps sugar, or to taste
1 bay leaf
Salt and pepper, to taste
Directions:
For the cabbage- Bring a large pot of water to a boil. Salt the water generously, and then add the cabbage to the water. Boil the cabbage for 4-5 minutes. Then remove the cabbage from the pot and allow it to cool, reserve the water to boil the rice.
Once cool to the touch, remove the leaves, and place them on a clean kitchen towel to remove any excess liquid. The center of the cabbage/smaller leaves will not be as pliable and can be reserved for other uses.
For the filling- Bring the pot of water back to a boil, and add the rice. Boil the rice for 8-10 minutes, or until partially cooked. Drain and reserve.
To a large skillet over medium heat, add the oil and chopped onion. Allow the onion to get golden brown and slightly caramelized, stirring occasionally for about 15-20 minutes. This step takes some time but adds a lot of flavor; prep the other vegetables while the onion caramelizes. Add the garlic to the onion, and sauté for 1-2 minutes. Add the cubed eggplant and diced carrot to the onion mixture; add more oil if needed. Generously season with salt and pepper, and sauté the eggplant mixture until the eggplant is softened, about 10-15 minutes. Taste, and adjust the seasoning.
Turn off the heat. Add the par-boiled rice, garlic powder, paprika, and if using, add the umami/dried mushroom seasoning blend. Allow the eggplant filling to cool. Add the egg if using, and mix until it is well combined.
For the sauce- In a large pot or Dutch oven, sauté the onions and garlic until softened and aromatic, about 5 minutes. Add the apple, and sauté for another 2-3 minutes or until slightly softened. Add tomato paste and stir and cook for 1 minute. Add the tomato sauce, and add an equal amount of water. Then add bay leaf, salt, pepper, and maple syrup or sugar. Your sauce should start out very thin, but it will thicken as it cooks. Bring the sauce to a boil, and simmer on low for at least 30 minutes. Taste the sauce before adding the stuffed cabbage, and adjust for salt or sweetness. Dilute with more water if needed.
To assemble - Separate the cabbage leaves, and cut out the thickest part of the center vein/core.
Fill each cabbage leaf with approximately ¼-cup of filling near the base of the leaf. Fold the base of the leaf over the filling, fold the sides of the leaf towards the center, and then roll until the cabbage is formed into a burrito-like package. Place seam-side down into the pot; cabbage rolls can be stacked on top of each other as long as they are all submerged in the sauce.
Cover the pot, and let the cabbage simmer for 50-60 minutes on low heat, or until tender and the rice is completely cooked through. Add more water if the sauce appears too thick at any point, or when reheating. The sauce should be easily spoonable over the cabbage.
Served topped with fresh herbs and/or sour cream.